Attaching files in the mobile app (iOS)
The mobile app supports the following methods for attaching files:
- Selecting photos from your photo library and attaching them
- Taking and attaching photos and videos
- Selecting files from the Files app and attaching them
- Taking and attaching multiple photos
This page describes the following actions that are specific to the mobile app.
Taking and attaching multiple photos
The following steps use attaching a photo on the Edit record screen as an example.
-
On the Record details screen, tap Edit.
-
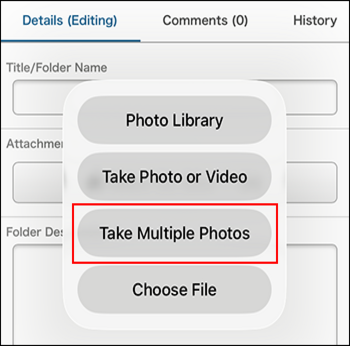
On the Edit record screen, tap Select file in the Attachment field.
-
From the displayed menu, tap Take Multiple Photos.
If a dialog requesting permission to access the camera appears, please allow access.
-
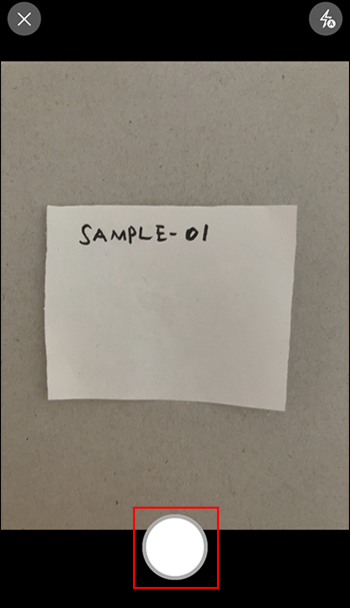
Tap the shutter button to take the first photo.
-
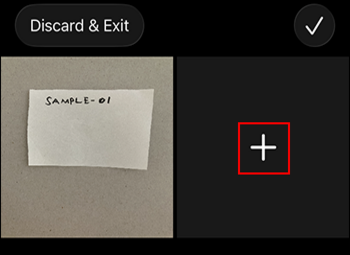
If you want to take more photos, tap the Add button (the plus sign-shaped icon) to continue shooting.
-
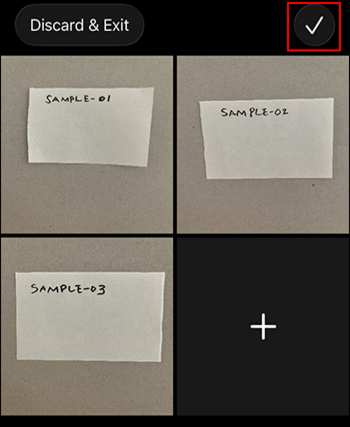
After you finish taking photos, tap the Selected button (check mark) in the upper right corner of the screen.
-
If necessary, select whether to reduce the size of the photo.
-
Tap Save to save the record.
Editing and attaching photos
The following steps use attaching a photo on the Edit record screen as an example.
-
On the Record details screen, tap Edit.
-
On the Edit record screen, tap Select file in the Attachment field.
-
Select one of the following options from the displayed menu.
- Photo Library
- Take Photo or Video
- Take Multiple Photos
-
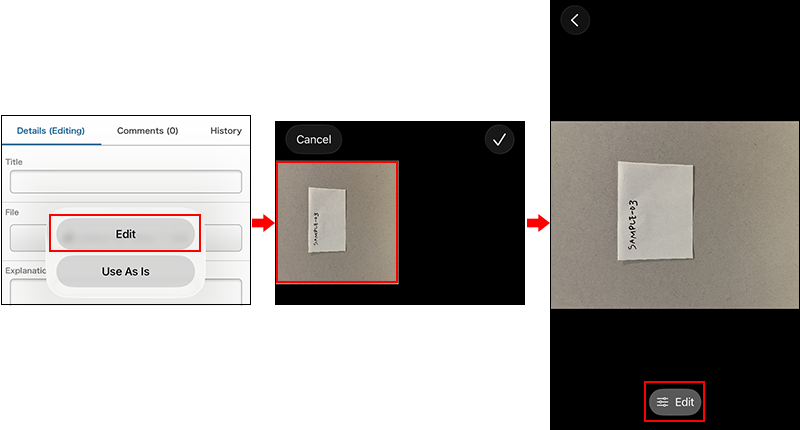
Switch to the screen for editing a photo.
The method for switching differs depending on the option you selected in Step 3.- If you select Photo library:
After selecting photos, tap Edit. Then tap the photo you want to edit from the selected photos and tap the Edit button.
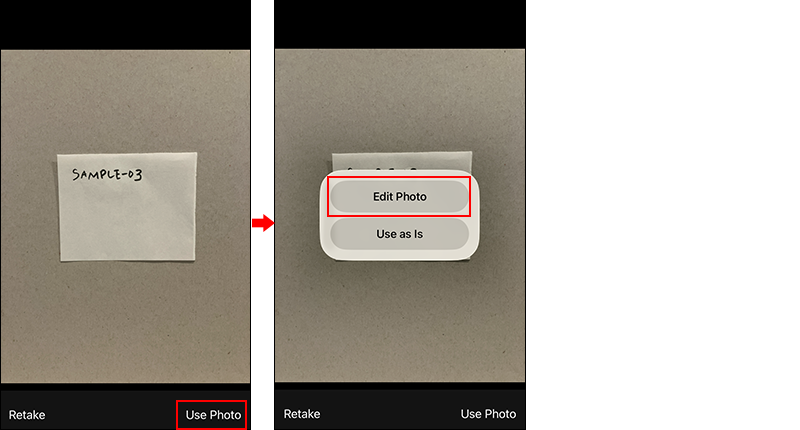
- If you select Take Photo or Video:
Take a photo and tap Use Photo, and then tap Edit Photo.
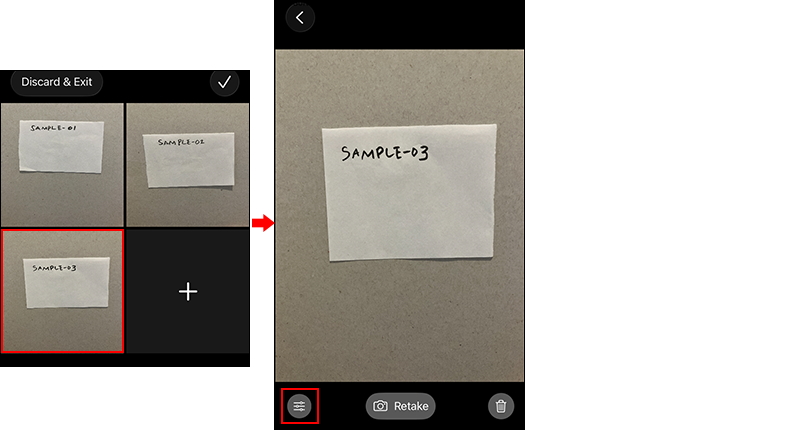
- If you select Take multiple photos:
After taking photos, tap the photo you want to edit and then tap the Edit button.
- If you select Photo library:
-
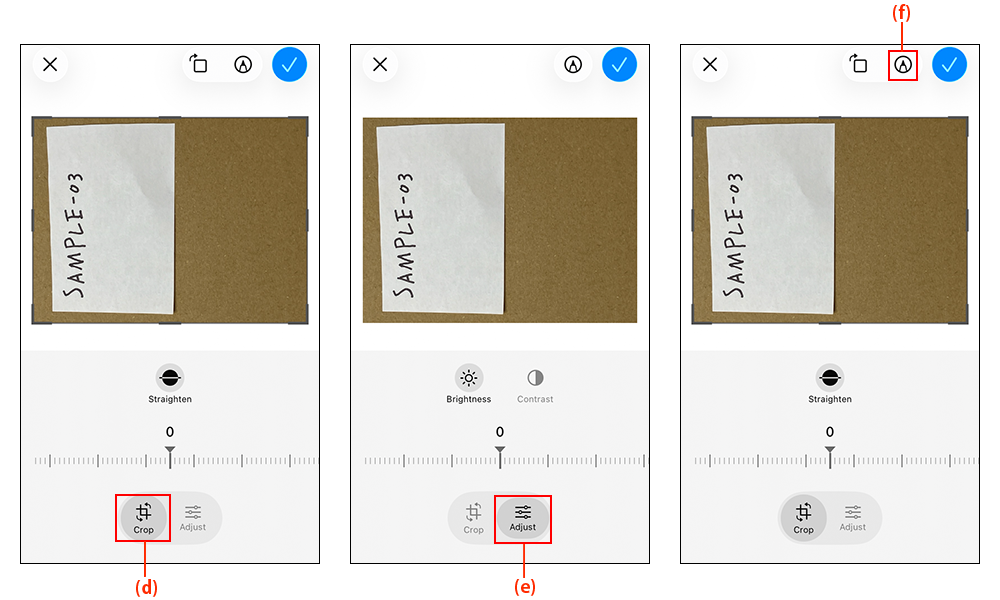
Edit a photo.
The following editing features are available in the mobile app.
-
(d) Actions available in Crop mode:
- Crop
- Rotate
- Straighten
-
(e): Actions available in Adjust mode:
- Adjust brightness
- Adjust contrast
-
(f): Actions available in Drawing mode:
- Handwriting
- Add sticker/Add text/Add shape/Add loupe
These menus appear when you tap the Add button (plus sign) at the lower right of the Markup screen.
-
-
After you finish working in drawing mode, tap the Done Drawing button (check mark) at the upper right of the Markup screen.
-
After you finish all the editing, click the Done button (check mark) at the upper right of the screen.
-
If you selected Photo library or Take multiple photos in step 3, tap the Selected button (check mark) at the upper right of the screen after you return to the screen for selecting photos.
-
If necessary, select whether to reduce the size of the photo.
-
Tap Save to save the record.